

A Morning at Sorrento back beach
Firstly just a quick note to let you know that I’ve updated the blog to give it a whole new look and most importantly it will now allow me to display larger images on the page. Screen sizes and resolutions have changed dramatically since I first started the blog several years ago. I’m sure you’ll agree that larger images is a step in the right direction.
The following images are from a morning trip down to Sorrento on the Mornington Peninsula.
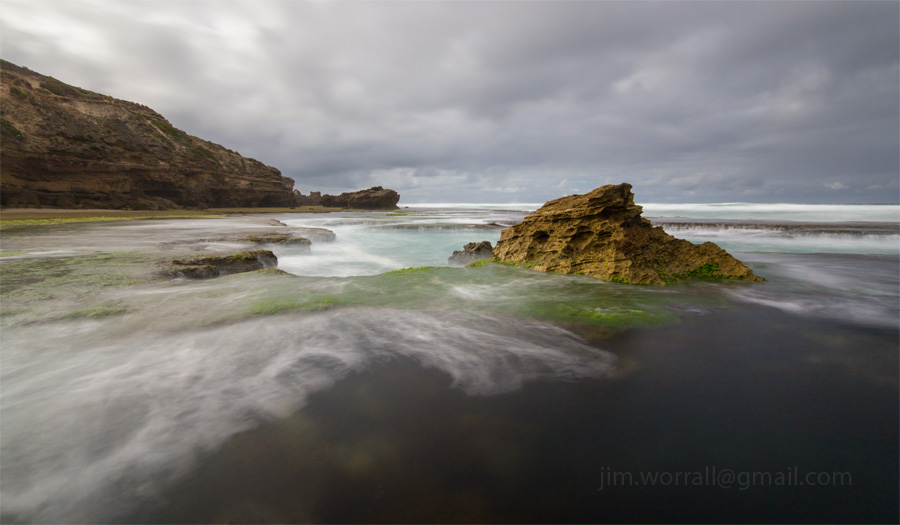

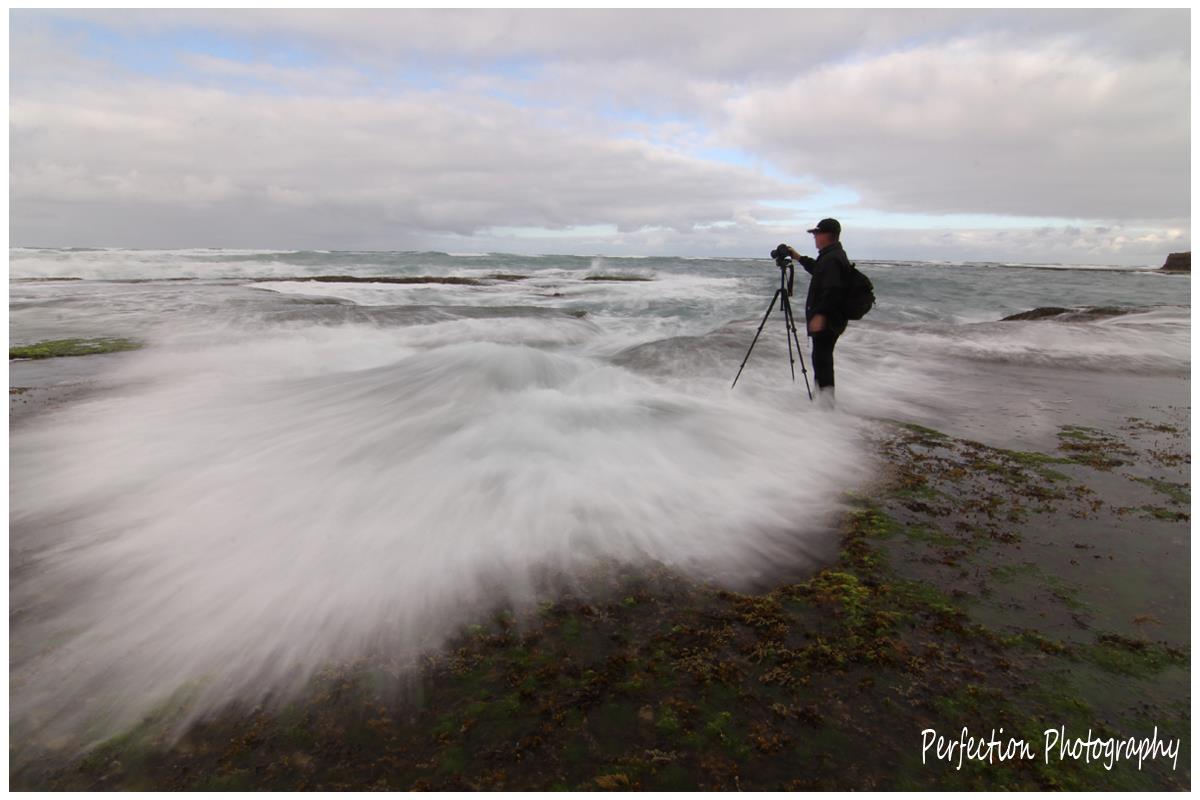
Now for some fun shots. The two images below were taken by my friend Stephen. He managed to catch a couple of golden moments in time where the waves got the better of me.


Cat Bay and Ventnor, Phillip Island long exposures
It was a fine day with fluffy white clouds scooting along on the breeze. It didn’t take long for me to convince myself to go down along the coast and play with some dark ND filters.
Below – The old jetty remnants at Cat Bay, Phillip Island.

Below – The old jetty remants at Cat Bay, Phillip Island.

Below – Summerlands beach, Phillip Island. I was lucky to catch this one with no footprints near it since this is a popular stretch of beach for the locals to wander on.

Below – Red Rocks beach, Ventnor, Phillip Island.

Below – Red Rocks beach, Ventnor, Phillip Island.

Below – Red Rocks beach, Ventnor, Phillip Island.

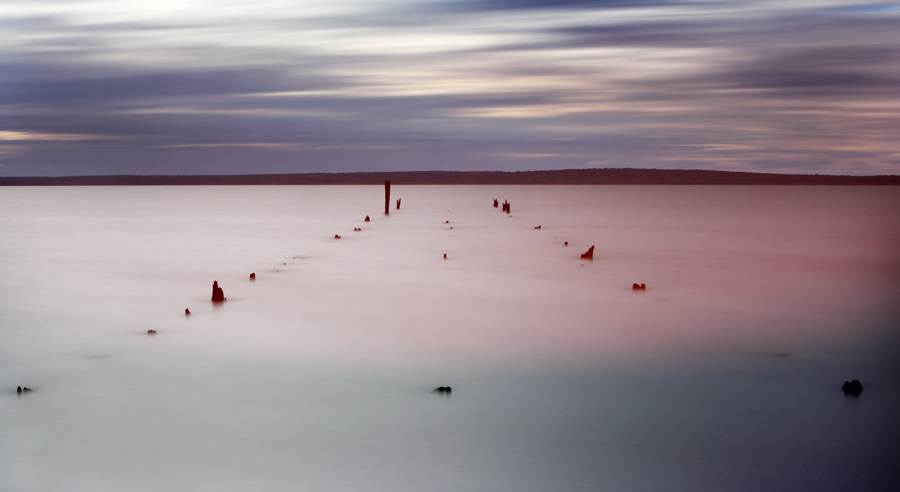
Below – Some old jetty remnants at Grantville beach, shot at dusk on the way home.
How to use the ND400 for daytime long exposure photography
**Updated 30th Aug 2014 to emphasize the importance of blocking the viewfinder eyepiece**
The Aim of this Guide
———————-
I’ve written this guide to answer the most common questions that I receive regarding my NDX400 / ND400 long exposure photography.
This guide serves as a quick introduction to daytime long exposure photography for those who have never attempted it before. My aim is to explain the methods that I use with the intention of getting you shooting as quickly and simply as possible.
This is NOT designed as an in-depth technical guide. There are other guides on the internet that delve into all the maths and physics involved.
I will be adding to this page, or making corrections, from time to time as the need arises.

————————-
What equipment do I need?
————————-
– A camera –
Any DSLR camera will do the job nicely. An entry level DSLR is fine.
There are even a few compact cameras which are suitable. If your compact camera is tripod mountable, allows you to take control of ISO, aperture and shutter speed, and is capable of having filters attached then you can use that.
– A tripod –
You need to be able to keep the camera completely motionless during a long exposure. A tripod is by far the most convenient way to achieve this.
– ND filters –
You will need the following – 1 x Hoya NDX400 (or another manufacturers equivalent)
and 1 x Hoya ND8 (or another manufacturers equivalent)
The ND8 is used in conjunction with the NDX400 to give you more flexibility on bright sunny days.
These ND filters screw onto the end of the lens. They have threads on both the front and rear sides so it’s possible to have more than one filter screwed onto the lens at any given time.
There are alternative filter systems available whereby you slide a filter into a holder mounted on the front of the lens but I wont be discussing those here because I don’t use them.
I recommend that you avoid using (or buying) variable ND filters since they create unwelcome artifacts at the dark end of the range. Don’t waste your money on one of these if you intend to use it at the dark end.
– A remote shutter release – (optional)
If you only want to create exposures no longer than 30 seconds then a remote shutter release is an optional piece of gear. A remote shutter release only becomes necessary if you want to make exposures longer than 30 seconds.

—————————————————
How do I compose the image through this black glass?
—————————————————
With an NDX400 filter on the end of your lens the first thing you’ll notice when you look through the camera’s viewfinder is extreme darkness. Even in daylight it can be difficult to see much more than silhouettes.
The easy way to get around this problem is to use the camera’s “live view” mode and compose your scene using the LCD on the back of your camera. Live view allows you to see straight through the filter.
As an alternative, if you like to do things the more fiddly way you can compose your image using the viewfinder with the filter off, then screw it on when you’re ready to take the shot. The disadvantage of this method is that you are removing and then refitting the filter for each new composition. That means that you’re MUCH more likely to accidentally drop your filter.
—————————————————–
How can I get the camera to focus through black glass?
—————————————————–
In real world daylight conditions, when using live view, I find that my camera is able to focus correctly in most situations with the NDX400 screwed onto the lens. Focusing can become a bit more troublesome when both the NDX400 and ND8 are on. Your results may vary of course depending on the model of camera you have.
If your camera is having trouble focusing you can remove one or more of the filters then do a half press of the shutter button. When the focus locks onto the subject you can then switch the lens to manual focus (MF) and refit the filter/s. The focus now shouldn’t move unless you accidentally handle the lens and move the focus ring.
Precise focusing is not so critical when doing long exposures if you’re using a wide angle lens. The combination of a wide angle lens and a small aperture (high aperture number) give you an image with great depth of field. This means that both near and far objects are in focus. Precise focusing DOES however become critical when you’re using a telephoto lens since the depth of field is now inherently much narrower compared to using a wide angle lens at the same aperture setting.
In the real world if I’m shooting seascapes with my 10-20mm lens I generally don’t care where it’s focusing because the depth of field is enormous at high aperture numbers. Conversely if I’m using my 70-200mm then I become very fussy about getting the focus correct.
——————————————–
How do I set up my camera for long exposures?
——————————————–
(The following procedure applies to exposures of 30 seconds or less.)
**Please note that it’s very important to block the viewfinder eyepiece to prevent light from leaking into your camera.**
1 – Screw the NDX400 onto the front of your lens.
2 – Select “2 second self timer” as your camera’s drive mode.
3 – Select your camera’s lowest ISO number. This will usually be 100 or perhaps 50 if you’re lucky.

4 – Put your camera into aperture priority mode and set your aperture to f/11 as a starting point.


5 – Select “live view mode” if your camera has it.

6 – With your scene composed the way you want it, half press the shutter button.
The camera should focus and calculate the exposure time for you.
If the camera doesn’t focus see the section above titled “How do I get the camera to focus through black glass?”
During the “half press” the exposure time should now be displayed somewhere on the camera’s LCD screen.
If you want to make the exposure time longer you can do this by increasing the aperture number.
If you want to make the exposure time shorter you can decrease the aperture number.
An alternative to cranking your aperture number up really high is to screw the ND8 filter onto the NDX400 which should already be mounted on the front of your lens.
7 – When you’re happy with the exposure time, complete a full press of the shutter button.
The camera should start the exposure in two seconds. That gives you time to get your hands off the camera and your body away from the tripod. The objective here is to disturb the camera as little as possible during the long exposure.
———————————————————————
What do I do if I don’t have “live view” mode available on my camera?
———————————————————————
You can use a similar procedure to the one described above with the exception that during the “half press” you will need to cover the viewfinder eyepiece to prevent light from entering.
If you do not cover the viewfinder eyepiece satisfactorily then light will enter the camera via the eyepiece during the “half press” and upset the camera’s exposure calculations. This will result in either black or very dark images.
——————————————————————–
Troubleshooting – Why do my long exposure images look blurry or soft?
————————————————————-
Usually the problem is caused by movement of the camera or tripod during the long exposure.
If you’re in a windy environment such as an ocean beach, a howling wind can cause the tripod to vibrate and blur your images. In this case you need to find a way to dampen the vibration. In circumstances like this I usually hold onto the tripod during the exposure and use my weight to press down and dampen the vibrations as much as possible.
Always avoid having the neck of the tripod extended during strong winds as it makes the camera very susceptible to the wind.
On the subject of beaches, when you place your tripod on sand always push down as hard as you can to bed the tripod feet firmly. If you rest the tripod softly on the sand there’s every chance that it will slowly shift during your long exposure. This is particularly true at the water’s edge with waves lapping around the tripod feet.
Something else to be aware of is that smaller apertures (high aperture numbers) can make your images look slightly soft. I would encourage you to test your particular lens and camera combination to see how noticeable (or not noticeable) it is. Take a shot at say f/22 and another at f/11 and compare them to see if it’s a deal breaker for you.
———————————————–
Troubleshooting – Why do my long exposure images look too dark?
————————————————
This is one of the most common questions I’m asked. If you’re shooting in any mode other than manual then chances are that the camera’s exposure system is being effected by unwanted light entering via the viewfinder eyepiece. Ordinarily this light would be negligible compared to the amount of light coming in through the front lens. When you put a very dark filter on the front lens this stray light coming in through the eyepiece becomes significant and has a major effect on the camera’s ability to calculate correct exposure.
————————————————
Troubleshooting – Why do my long exposure images have discoloured areas, bands, stripes or smears?
————————————————
The most common cause of such problems is light leaking into the camera through an uncovered eyepiece. Ensure that your camera’s eyepiece is adequately covered during long exposures to prevent leaks.
————————————————
Troubleshooting – Why do my long exposure images have some tiny brightly coloured dots?
————————————————
These bright coloured dots are often referred to as “hot pixels” or “stuck pixels”.
This is usually a temporary condition and the number of “hot pixels” tends to increase as the camera’s image sensor heats up. This can be a real problem if you have “live view” turned on for extended periods of time, particularly on warm or hot days. It’s a good idea to only have live view turned on immediately prior to taking your long exposure. The goal is to keep image sensor heating to a minimum.
Balnarring Beach Groynes
The groynes at Balnarring Beach serve to reduce erosion at the water’s edge. Most of the groynes are simply a line of posts connected together by planks creating a straight sea wall.
I was struggling to find something interesting on the beach then stumbled across this baby zig-zagging out into the bay.

Below – The usual straight groyne.

Below – The making of Zig Zag.

Rye back beach – The Dragon’s Head and the Pod
A few images of the rock formations at the Number Sixteen beach at Rye.
Pictured below – The Dragon’s Head rock, initially named by a local with a fertile imagination.
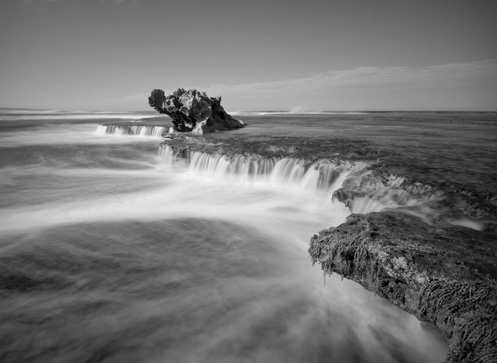
Below – The Pod, ….well I had to call it something since all of the good names like Dragon’s Head had already been snapped up.

Below – Water flows off the rocky plateaus returning to the ocean.
Click to enlarge.

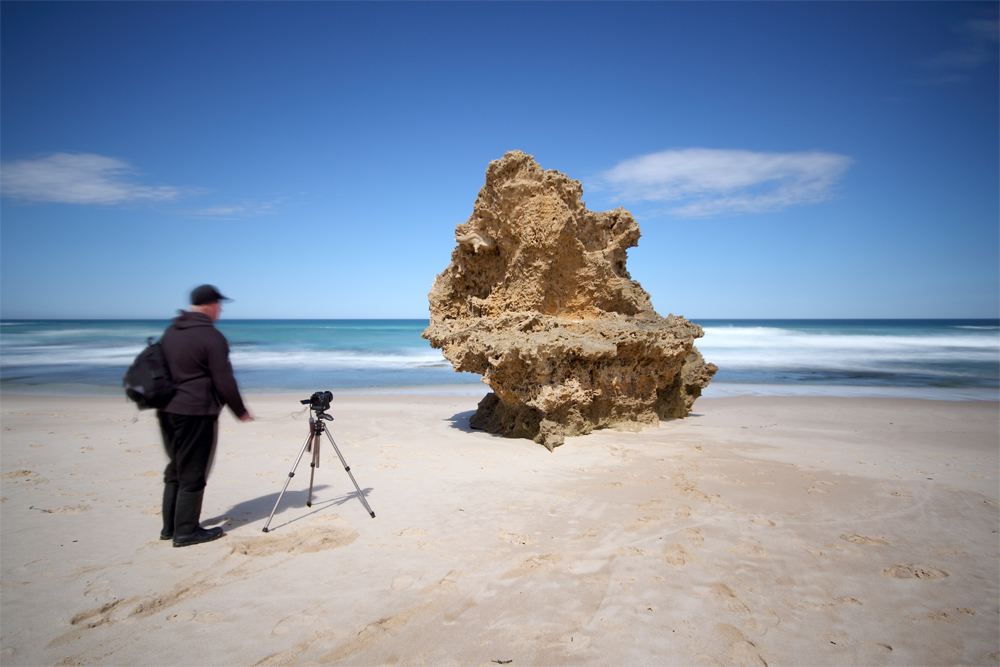
Below – A couple of images of my friend lining up his gear for the money shots.

Sorrento – A Mornington Peninsula Jewel
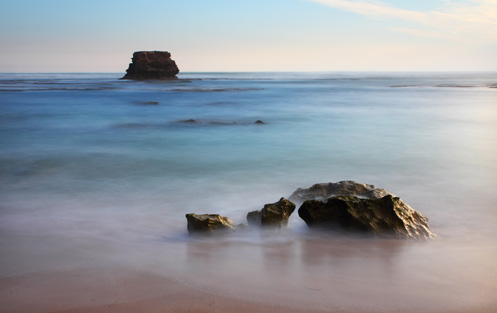
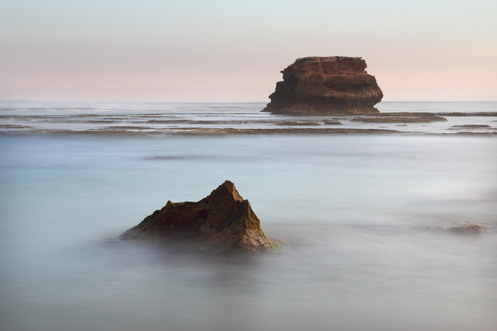
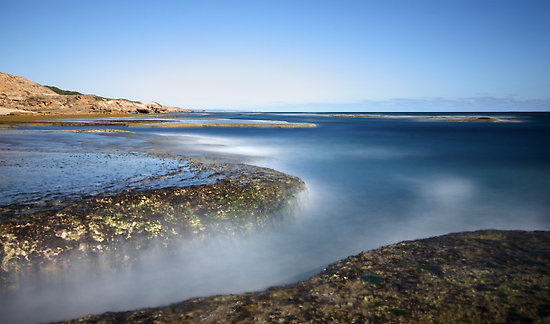
Some afternoon long exposure images from Sorrento back beach on the Mornington Peninsula, Australia. The foreground rocks are submerged at high tide and are gradually revealed as the tide goes out. A long exposure time is used to smooth out the ocean waves into a mist.

A Sunset at Tooradin
A couple of images taken as the sun disappears below the horizon at Tooradin foreshore, Western Port Bay.
Pictured below – At high tide a mangrove sits semi submerged in the foreground as day gives way to night.

Below – A view from the Tooradin jetty looking back upstream towards town.

Catching the Instagram Train
The photography community seems to be polarized over the use of phone cameras and associated filter programs such as Instagram.
I must admit to being slow to travel down the “phone and filter” path and have only recently decided to give it a go to see what all the noise is about.
Since giving it a trial run I must admit that the use of Instagram and other similar programs has reintroduced a fresh and fun aspect to my photography.
Pictured below – Rye Pier.
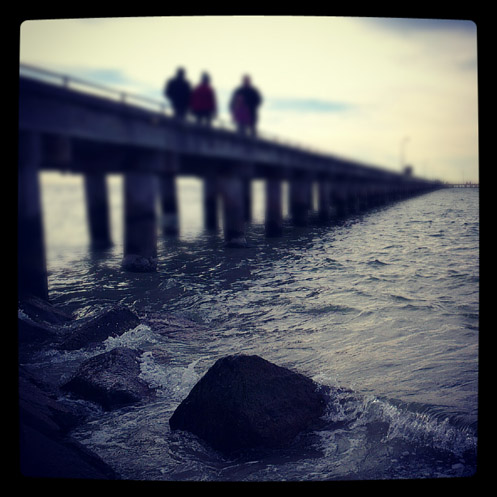
I find it refreshingly simple to just pull out my phone, click, process and even publish the image so quickly.
I also enjoy being forced to rethink my compositions into a square format after being conditioned by years of using a 3×2 SLR format.
Pictured below – A foggy morning at Tooradin foreshore.
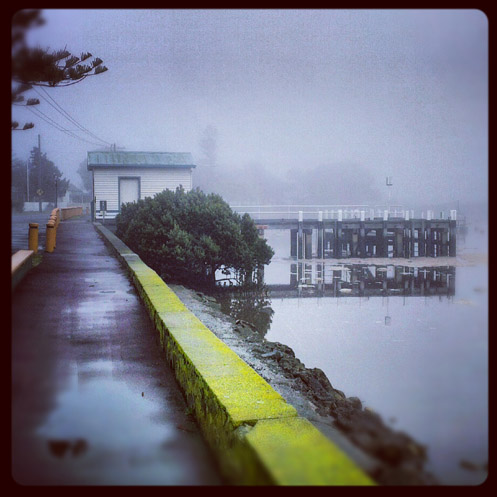
Admittedly I’ve had to resist the urge to “pixel peep” at the noise and visual anomalies created by some of the clunky filters.
This will never replace my SLR photography but I reckon it will complement it nicely. Phone photography has definitely introduced a fresh fun aspect to my photo life.
Pictured below – Mt Martha beach.
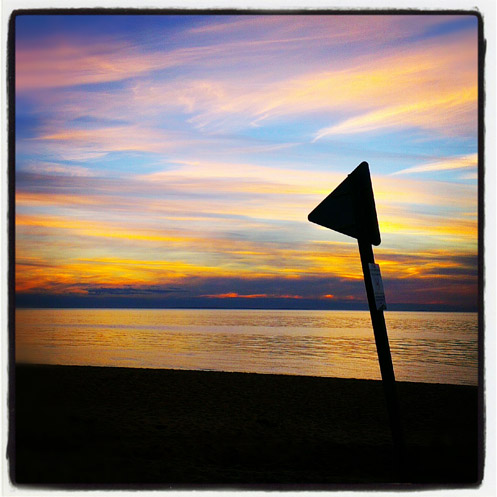
Thunder in the Air – Outdoor Dunny
This is an image I captured during an excursion through northern Victoria quite some time ago. At the time I didn’t bother to post it in my blog because I didn’t think there would be much interest in it.
Boy was I wrong, …this is currently one of the best selling images on my Zazzle site.
Who would of thunk it?

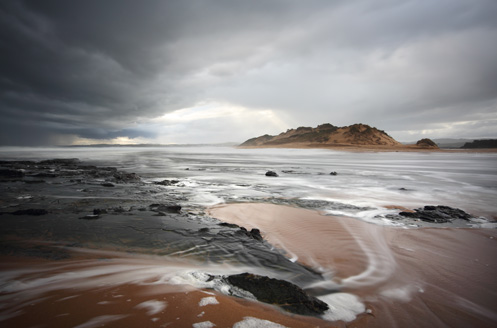
Storm at Powlett River
On the way back home from a recent excursion to Cape Liptrap we stopped off at the mouth of the Powlett River.
I had just enough time to catch this image before the rain started to pour down hard.
Cape Liptrap – the Lighthouse and Beach
Exploring Cape Liptrap turned out to be one of the most physically punishing excursions of recent times. The excitement of climbing up and down steep coastlines and rock hopping around the breaking surf tends to distract one from the punishment that the old leg muscles are receiving.
As I write this blog post, three whole days have passed since the excursion and my legs are still a bit wonky. 🙂
Pictured below – A long exposure black and white image of Cape Liptrap Lighthouse.
On the day we visited the cape, mother nature provided us with a sky full of interesting fast moving cloud, great for long exposure work.
If you’d like to see an alternative colour version you can see one here.
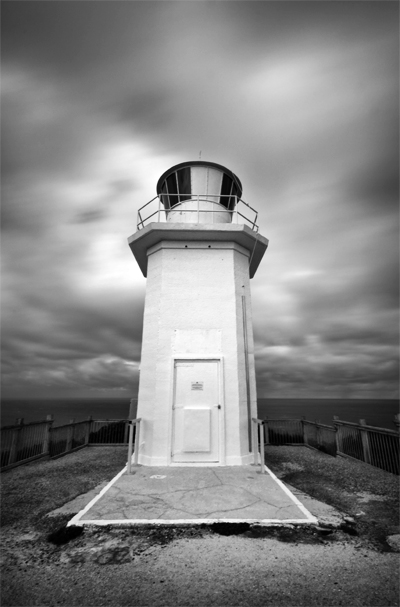
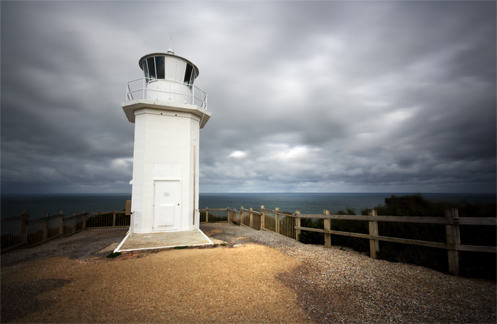
Pictured below – Cape Liptrap lighthouse captured with a 10-20mm wide angle lens. When I was processing the image I initially corrected the wide angle image distortion but then the image seemed to lose something so i decided to leave the distortion in.
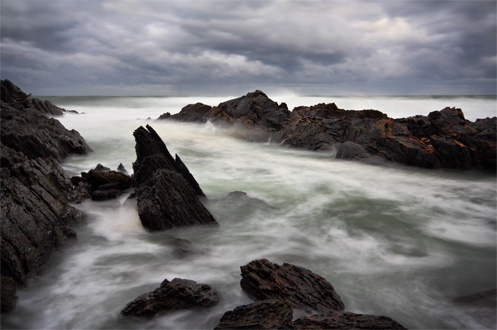
Pictured below – A long exposure image of surf crashing onto rocks along a section of the Cape Liptrap coastline.
Pictured below – A view from along the west coast of Cape Liptrap.

And now for some snapshots –
John sitting on the cliff contemplating his next shot.

Me sitting on the cliff overlooking the pointy end of Cape Liptrap.

CSI officer John investigating the mortal remains of unspecified creature.
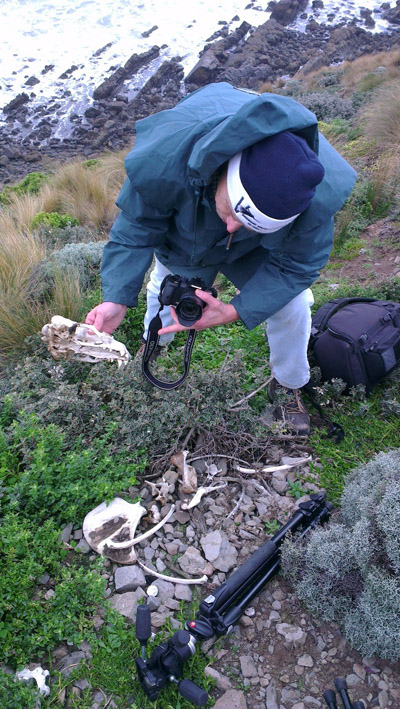
Me struggling up the steep banks of the coastline at Cape Liptrap.

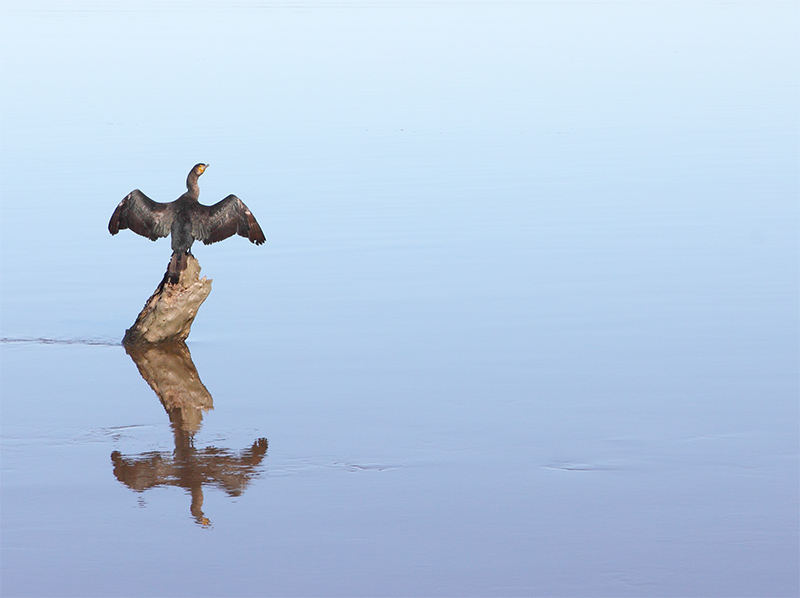
Lake King, Metung – A sense of Serenity
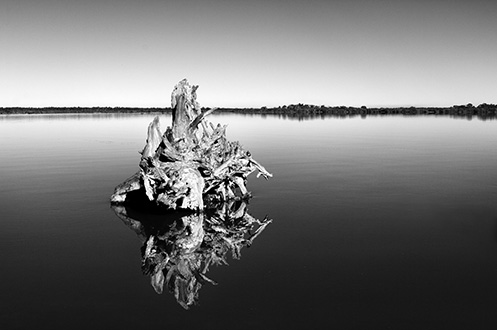
A few images from the beautiful Lake King at Metung in Victoria.
The silence of the motionless lake waters only occasionally broken by the sound of a cormorant diving for fish.
Serenity at it’s best. I’m coming back here again!


Dalmeny Beach – Duesbury Headland
Following are a couple of images from Dalmeny beach in New South Wales.
The first image below was captured from the clifftop at Duesbury Headland, Dalmeny.
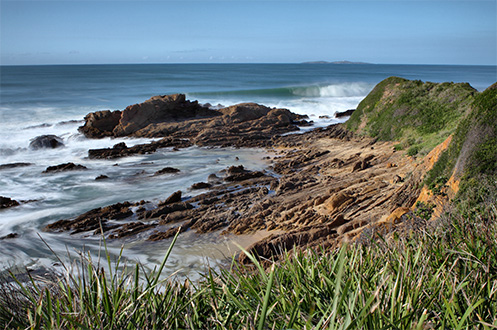
Below, a long exposure image taken amongst the rocks and surf at Dalmeny beach.

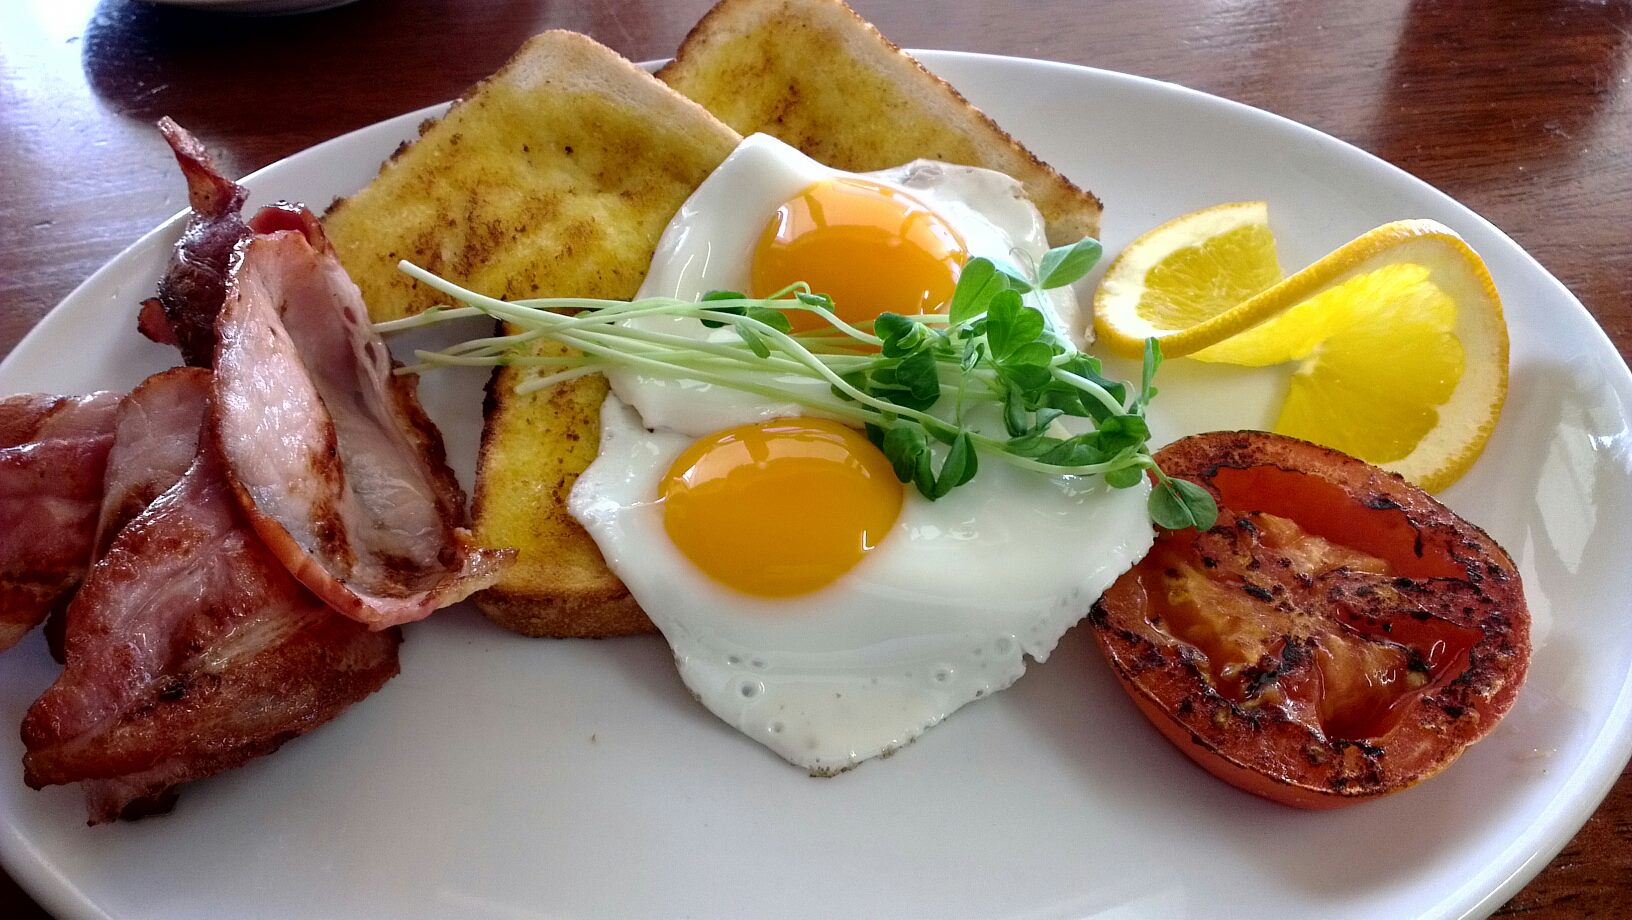
If you’re in the area around brekky time there’s a cafe on Dalmeny Drive called Anton’s just down the road at Kianga. I highly recommend their excellently presented eggs and bacon.
Have a look at this beauty below. Gorgeous isn’t it!
Mystery Bay – Ocean Mist in the Cove
When visiting Mystery Bay in New South Wales I found this wonderful cove full of dark rocks. The cove is open to the ocean and is constantly hammered by incoming waves.
A long exposure here creates a nice contrast of textures between the rough jagged rocks and the softness of the mist created by the motion of the waves.


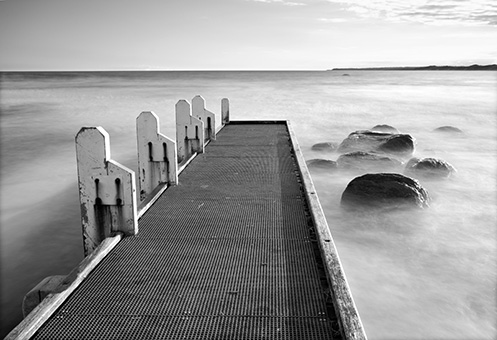
Cape Conran beach – the rockscapes and jetty
The beach at west Cape Conran offers an almost alien landscape populated with a huge array of highly eroded rocks. The jetty and boat ramp look out of place in this environment and so they tend to become the feature subjects of photographers who visit the site.
If you cant visit this site at sunset I’d recommend visiting during a day of high surf activity. The large waves crashing into these rocks create a really impressive scene.
I’m definitely going to revisit this location when I get the chance. There’s a lot to explore here.



Marlo – Snowy River meets the Sea
A series of images from Marlo in Victoria where the mighty Snowy River meets Bass Strait.
The softening of the ocean waves in the background is achieved by the use of heavy ND filtering.


Daytime experiments with the ND400 filter.
The following long exposures were taken during daylight hours using an ND400 and ND8 filter stacked together on the front of my Sigma 10-20mm lens. The combination of these two filters attenuates so much light that peering into the viewfinder reveals an inky blackness even during bright daylight conditions.
It’s therefore necessary to compose the image BEFORE screwing the filters onto the lens. It’s also necessary to adjust the focus manually since the auto-focus system has no chance of working under such conditions.
*** (Update October 2012) The introduction of “live view” to many DSLR cameras means that is’s no longer necessary to compose and pre-focus with the dark filters off the lens. I shoot all the time now using live view to peer through the combined darkness of an ND400 and ND8. The filters now stay on the lens which means there is a lot less fiddling around. If you’re looking for a guide to show you how to use an ND400 have a look at my recent blog post here.***
I found that if I set the ISO as low as possible, and set the aperture very small (i.e. a high number), then it was possible to obtain a shutter duration of about 3 minutes. Such long exposures during daytime create some interesting images. I’m looking forward to experimenting more with the ND400.


Home Sweet Hell
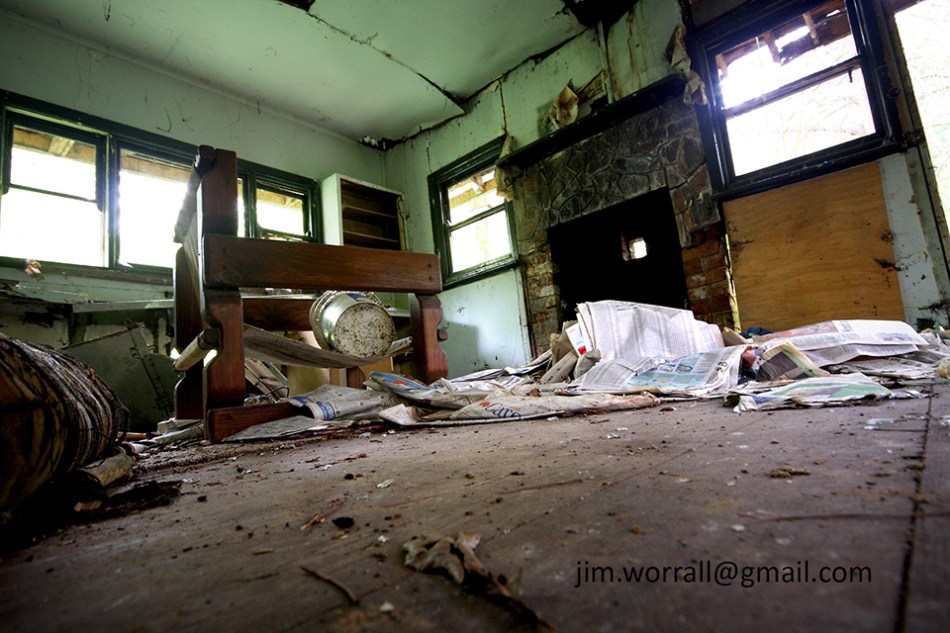
Images from an abandoned house taken during an excursion to the Dandenong Ranges, Victoria, Australia.

The image above is available to purchase as a print here.


A visit to Montsalvat, Australia’s oldest artist community.
Following are a collection of images captured at Montsalvat artist community, Victoria, Australia. I’ve finished many of the images in a faded sepia tone to suit the “old” feeling of buildings.
Title – Smoke and Mirrors.
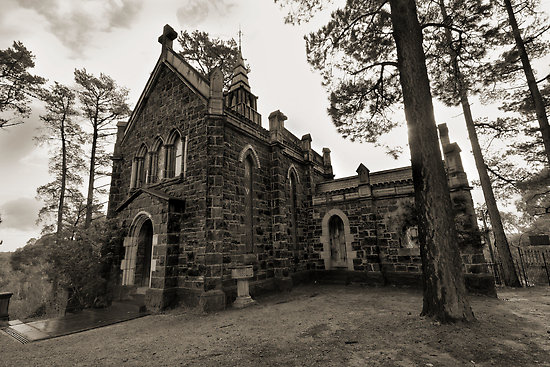
Title – The Flute Makers Call.
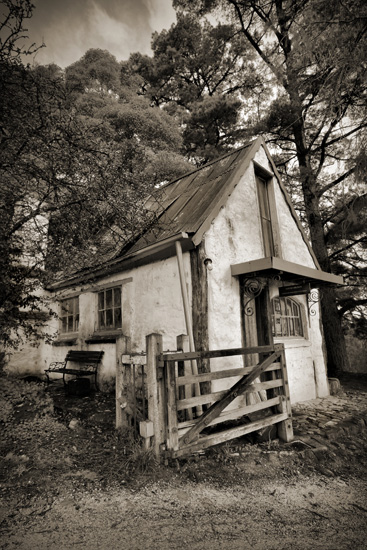
Title – The Fist of the Angels.

The Churl’s Paragon.
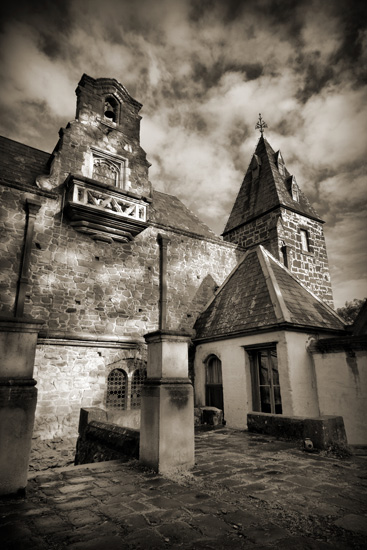
Title – Father’s Hold.
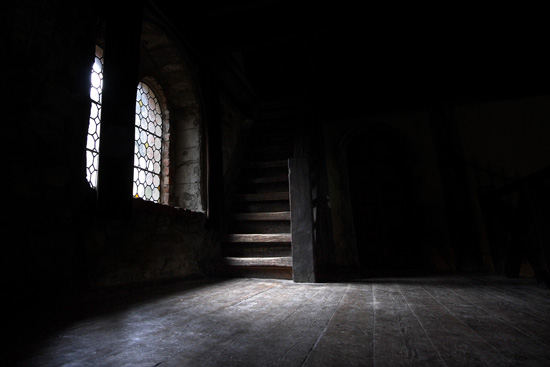
Title – Family Business.

Title – Release the Bats.
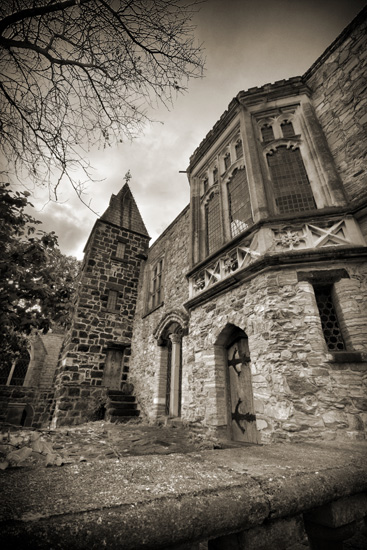
Title – The Fog of the Mind.

Title – Path to Shadowplay.

You can view these images in a larger format or purchase them as a print at –
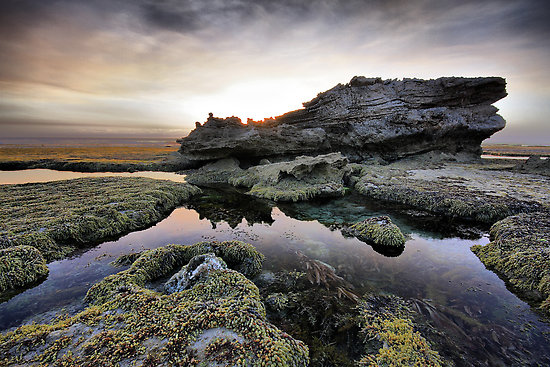
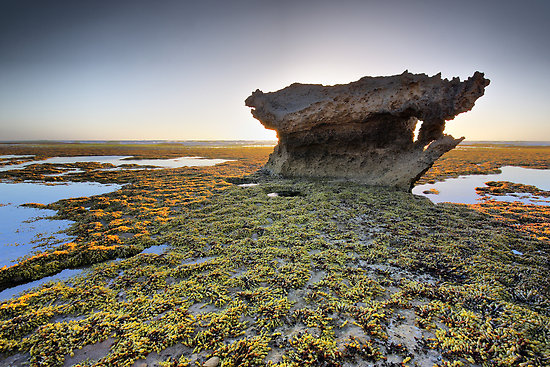
The optical jewels at Sorrento.
My recent visit to the ocean beach at Portsea sparked a craving for more of the same photographic material.
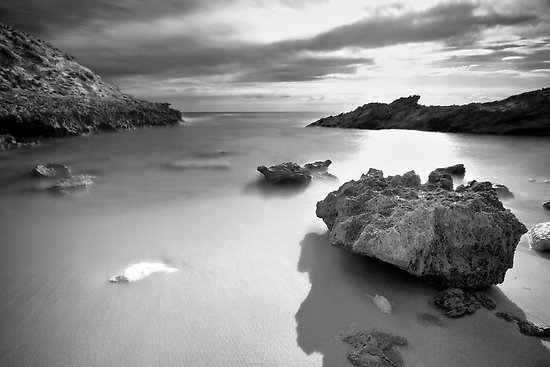
This time I visited the ocean beach further along the coastline at Sorrento. The first visit to the beach was a spur of the moment decision. When I arrived there the sun was hovering just above the horizon, I had no time to explore the beach and it was a high tide. I took a few shots of the sun fading into the horizon and a few long exposure shots of waves swirling around the rocks.
Here’s a couple of the high tide shots –
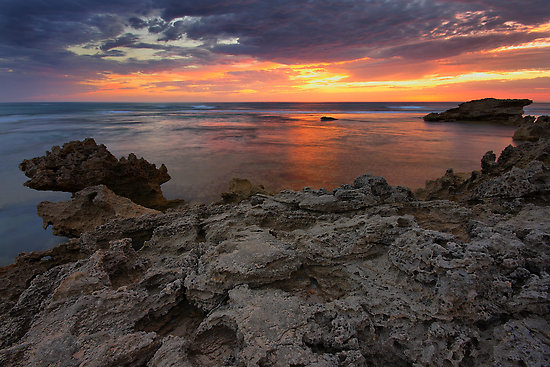
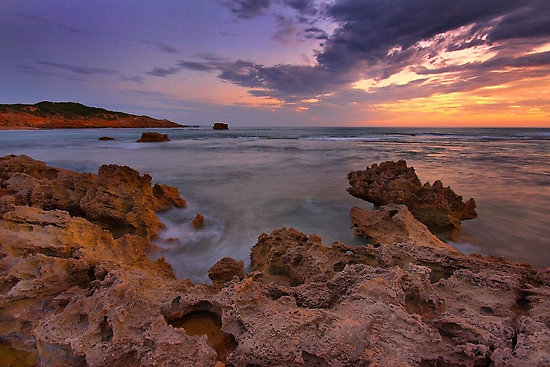
The next visit to Sorrento beach was a bit better planned and I actually remembered to check the tide charts before leaving. On arrival the rock pools were at their low tide best, the sun was high enough in the sky to give me time to explore some of the rocky features yet low enough to give the area a nice warm glow.
Here’s some of the shots from the low tide visit –
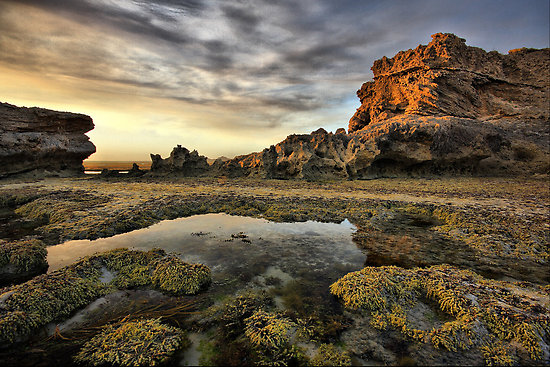
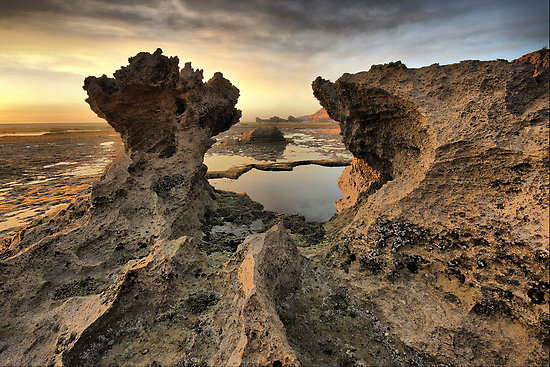



Shhhhhh, ….you can hear the forest breathing – Sherbrooke Forest
Sherbrooke forest is a protected area of bushland located in mountains on the outskirts of Melbourne. It’s an area of fairly thick bush with a series of meandering walking tracks for visitors to enjoy.

The best way to explore the forest tracks is ideally alone, …. and as quietly as possible. Many of the forest’s resident animals are nocturnal but there’s still lots to see and hear during the day if you just stay still and quiet for long enough. You can forget about seeing anything much at all if you travel the tracks in a chatty group because the animals will freeze and wait for the noise to pass.
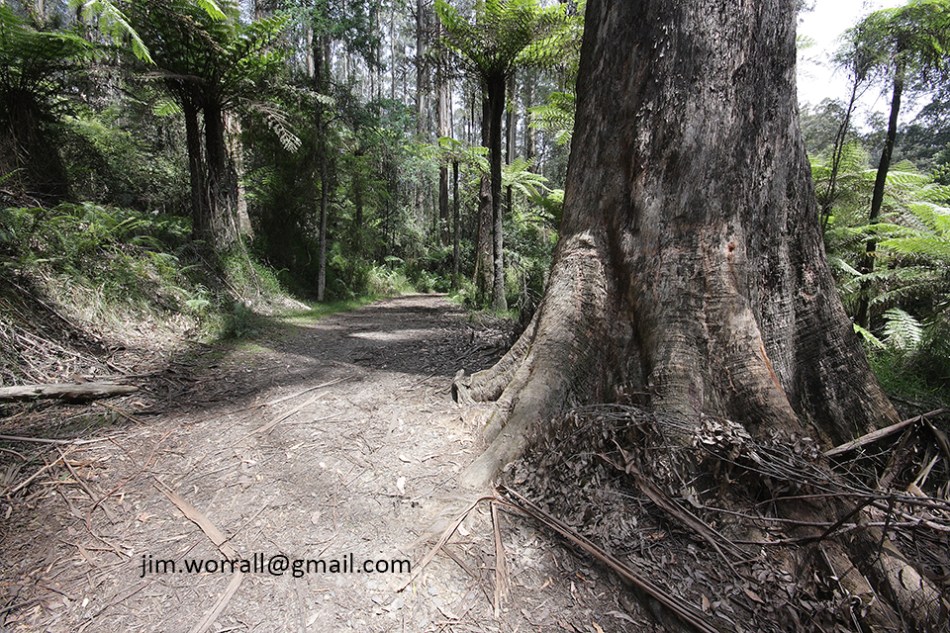
When I visited Sherbrooke forest it was a stinking hot day. . The pedestrian traffic along the track was fairly light, probably due to the heat, and this allowed me to stop several times along the track, undisturbed.
In this forest the animals are not tame but are somewhat conditioned to the presence of human visitors. If you stay still and silent for a couple of minutes, the animals seem to relax and carry on with their usual business. You start to hear the rustle of dried leaves as the animals move around on the forest floor and if you continue to stay quiet you can sometimes catch a glimpse of one of the wild residents.

On the day I visited Sherbrooke forest I was able to catch glimpses of wild kangaroos or wallabies and also a wandering echidna. I must admit though, that when I stepped off the track to photograph something of interest, I was very aware that this is also “snake country” and so I was careful to check where my feet were landing.


